
DigitalOcean Droplets are Linux-based virtual machines (VMs) that run on top of virtualized hardware. Each Droplet you create is a new server you can use, either standalone or as part of a larger, cloud-based infrastructure.
Having a personal droplet on DigitalOcean is great. You can host many apps, long-running processes, and side projects without having to worry about physical hardware, networking, and energy. You pay a flat, predictable fee based on the specs of your droplet, and that's it. Combine your droplet with services from providers like Cloudflare, and you're in for a pretty exceptional experience.
I pay ~$12/mo. for a shared CPU / 2 GB RAM / 50 GB Disk droplet running in DigitalOcean's NYC1 region, and over the past year I've used it to host internal tools, small game servers, and staging versions of web applications. If I need to get something up and running quickly, the process is actually rather simple: Create a new user, paste in a docker-compose file, start it, and lastly possibly configure Nginx and Cloudflare accordingly.
In this guide, I'll be showing you how to set up a service like Umami Analytics and self-host it on your droplet, using Cloudflare for DNS and protection. Let's take a look!
Note
This guide presumes that you have some basic knowledge in using a terminal, SSH keys, Linux commands, and a bit of Docker. We'll be interacting with the actual droplet mostly through a web interface, but everything else will be done from the terminal. DigitalOcean has great documentation and support, and if you're stuck, chances are a similar problem has already been answered on their forum.
Getting Started
Make sure you've created a DigitalOcean account, and start by creating a new droplet. Choose the region and datacenter nearest to you, and for the image I've gone with Ubuntu. Despite my general disliking for Ubuntu, it's the best supported and the rest of this guide will also be based on Ubuntu. For the droplet size, you can go with anything, I'd recommend starting off with the $0.009/hour option, and then possible upgrading if you require more resources.
Using an SSH key is definitely the best option, and DigitalOcean provides pretty clear instructions on how to manage these keys on Linux, MacOS, and Windows. Lastly, give your droplet an identifying name you'll remember, and hit Create Droplet. And there you have it, your droplet will be finalized soon.

Open the droplet dashboard, and click on the 'Console' button in the top right. We now have access to the terminal.
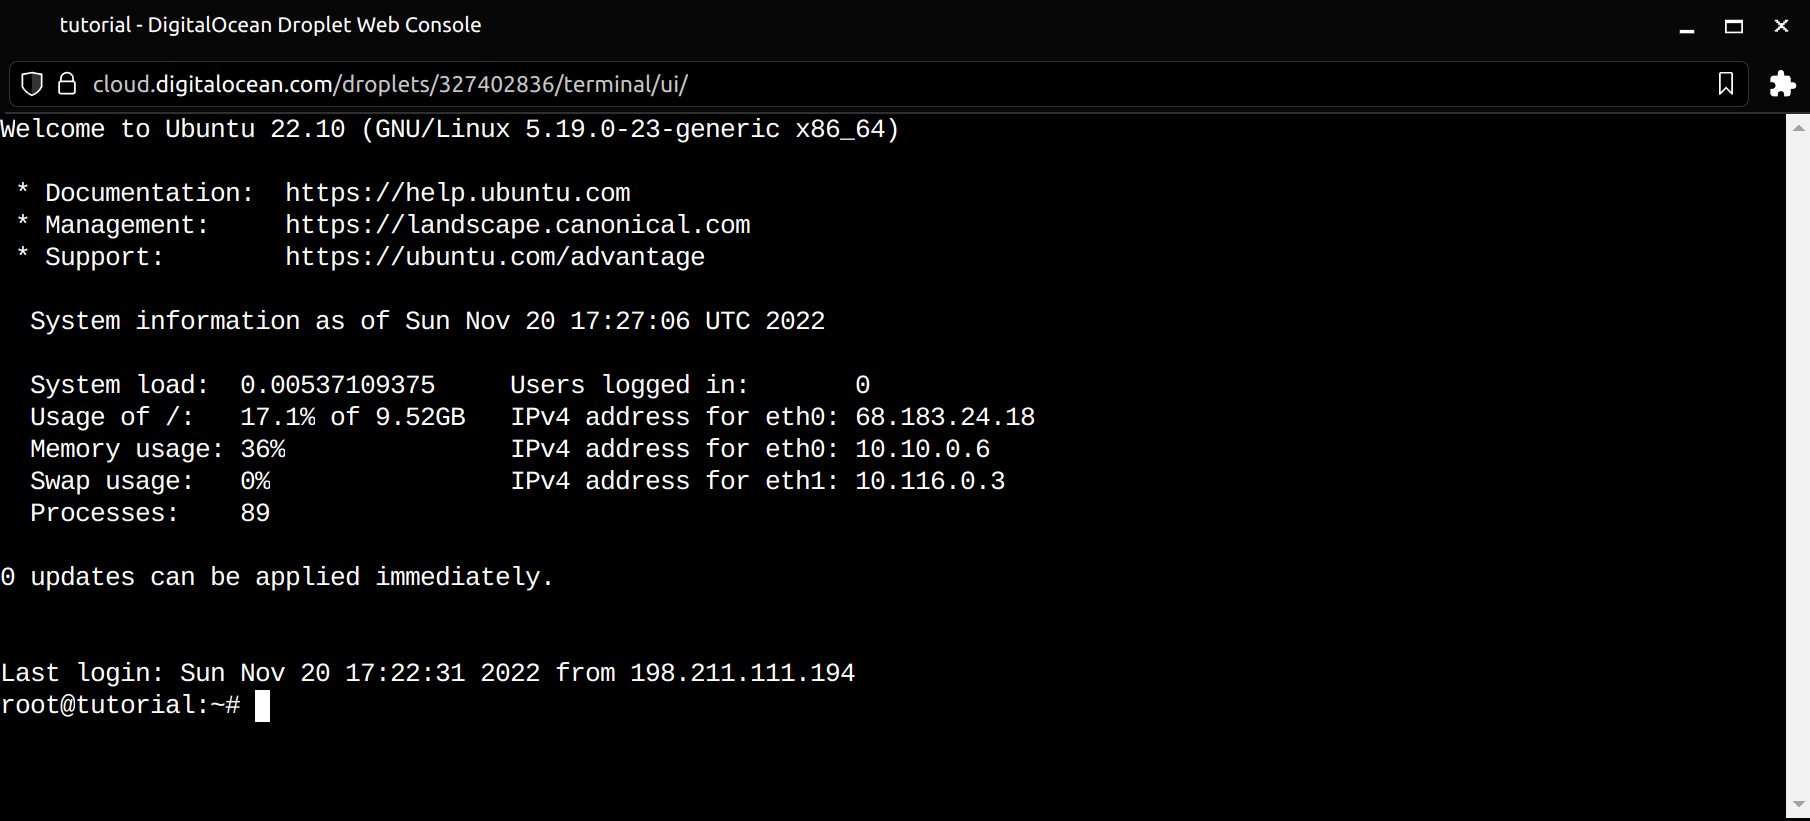
Now of course, we could do everything from the web console, but wouldn't it be nice if we could somehow connect from a terminal on our machine? This is where the SSH key comes into play, and if it's properly configured, you should be able to do something along the lines of this:
ssh root@(insert your droplet ip)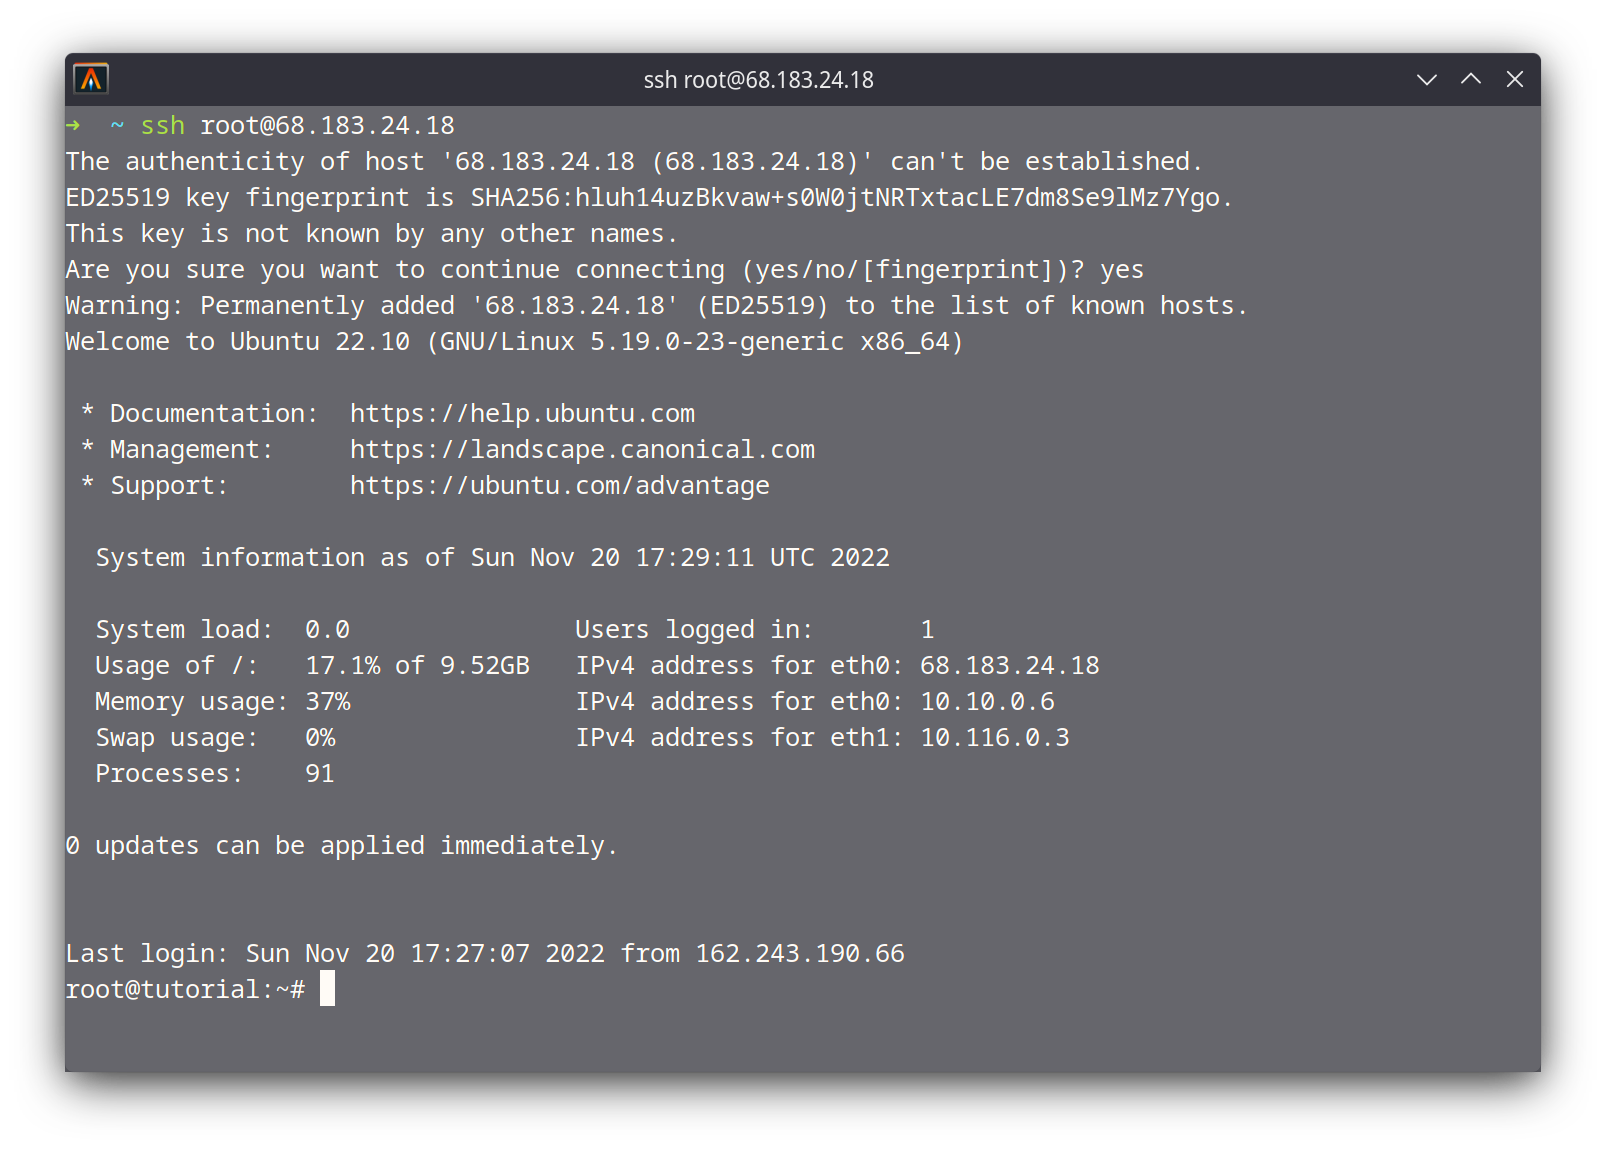
Now that we have access to our droplet, let's see how we can get a web application running on it. I'm going to use Umami Analytics as an example, a service that I'm actually running on my personal droplet for this site. It's easy to self-host, and they have an example with Docker. This process can apply to any other application really, I just see Umami as a good example because we'll need to do the following:
- Set up Docker and docker-compose
- Create a new user for the service
- Start the docker-compose file and services
- Configure NGINX so we can reach Umami from the internet
- Point our DNS (for this guide, Cloudflare) to the droplet
Running Umami
Setting up Docker
Before we can get to running any applications, we need to make sure Docker is properly configured. Of course, you can use literally anything else to run your stuff, but Docker has quite a few key advantages, mainly isolation, performance, and portability. This works especially great for a configuration like what we have with our droplet.
DigitalOcean has an official article on setting up Docker, which I highly suggest you read for clarification, as I'll just be including the necessary commands without any sort of an explanation:
sudo apt update
sudo apt install apt-transport-https ca-certificates curl software-properties-common
curl -fsSL https://download.docker.com/linux/ubuntu/gpg | sudo apt-key add -
sudo add-apt-repository "deb [arch=amd64] https://download.docker.com/linux/ubuntu focal stable"
sudo apt install docker-ce
Lastly, check if Docker is running with:
sudo systemctl status docker Installing Docker now gives you not just the Docker service (daemon) but also the docker command line utility, or the Docker client.Creating a Separate User
It's always a good idea to isolate your environments on a server, and regardless, we don't want these containers to be started from the root user, even though Docker itself requires root access. I'm going to be creating an umami user with the adduser command:
root@tutorial:~# sudo adduser umami
Adding user `umami' ...
Adding new group `umami' (1000) ...
Adding new user `umami' (1000) with group `umami' ...
Creating home directory `/home/umami' ...
Copying files from `/etc/skel' ...
New password:
Retype new password:
passwd: password updated successfully
Changing the user information for umami
Enter the new value, or press ENTER for the default
	Full Name []:
	Room Number []:
	Work Phone []:
	Home Phone []:
	Other []:
Is the information correct? [Y/n] Y
root@tutorial:~#
Now, make sure to add the umami user to the Docker group so that we can run the docker command:
sudo usermod -aG docker umamiLastly, switch to the user and test that we can run Docker:
root@tutorial:~# su - umami
umami@tutorial:~$ docker ps
CONTAINER ID   IMAGE     COMMAND   CREATED   STATUS    PORTS     NAMES
umami@tutorial:~$
You can switch to the root user anytime by using exit.
Docker-Compose
We're going to be using docker-compose to run the postgresql database and Umami server at the same time. The configuration for everything will be defined in one docker-compose.yml file, making things super simple for us.
Install docker-compose by running the following command as the root user:
apt install docker-composeNow, switch back to the umami user, you'll need to use a terminal editor like nano or vim, both of which should come preinstalled by default. Simply nano docker-compose.yml or vim docker-compose.yml, and paste the following contents, setting the hash salt and postgres password:
# docker-compose.yml
version: "3.3"

services:
  umami:
    image: docker.umami.dev/umami-software/umami:postgresql-latest
    ports:
      - "6900:3000"
    environment:
      DATABASE_URL: postgresql://umami:<REPLACE ME PASSWORD>@db:5432/umami
      DATABASE_TYPE: postgresql
      HASH_SALT: <REPLACE ME HASH SALT>
    depends_on:
      - db
    restart: always
  db:
    image: postgres:12-alpine
    environment:
      POSTGRES_DB: umami
      POSTGRES_USER: umami
      POSTGRES_PASSWORD: <REPLACE ME PASSWORD>
    volumes:
      - ./sql/schema.postgresql.sql:/docker-entrypoint-initdb.d/schema.postgresql.sql:ro
      - umami-db-data:/var/lib/postgresql/data
    restart: always
volumes:
  umami-db-data:
I'm also going to be mapping the container's 3000 port to 6900 on the host machine, which is important to keep in mind as this is the port that we expose.
Now, with just one command, we'll be able to fetch all of the images, configure the environment, and start up the server and database:
docker-compose up -dNow, our containers are running. Pretty sweet!
Creating umami_db_1 ... done
Creating umami_umami_1 ... done
umami@tutorial:~$
At this point, we can actually see the application running in our browser if we visit [droplet IP]:6900
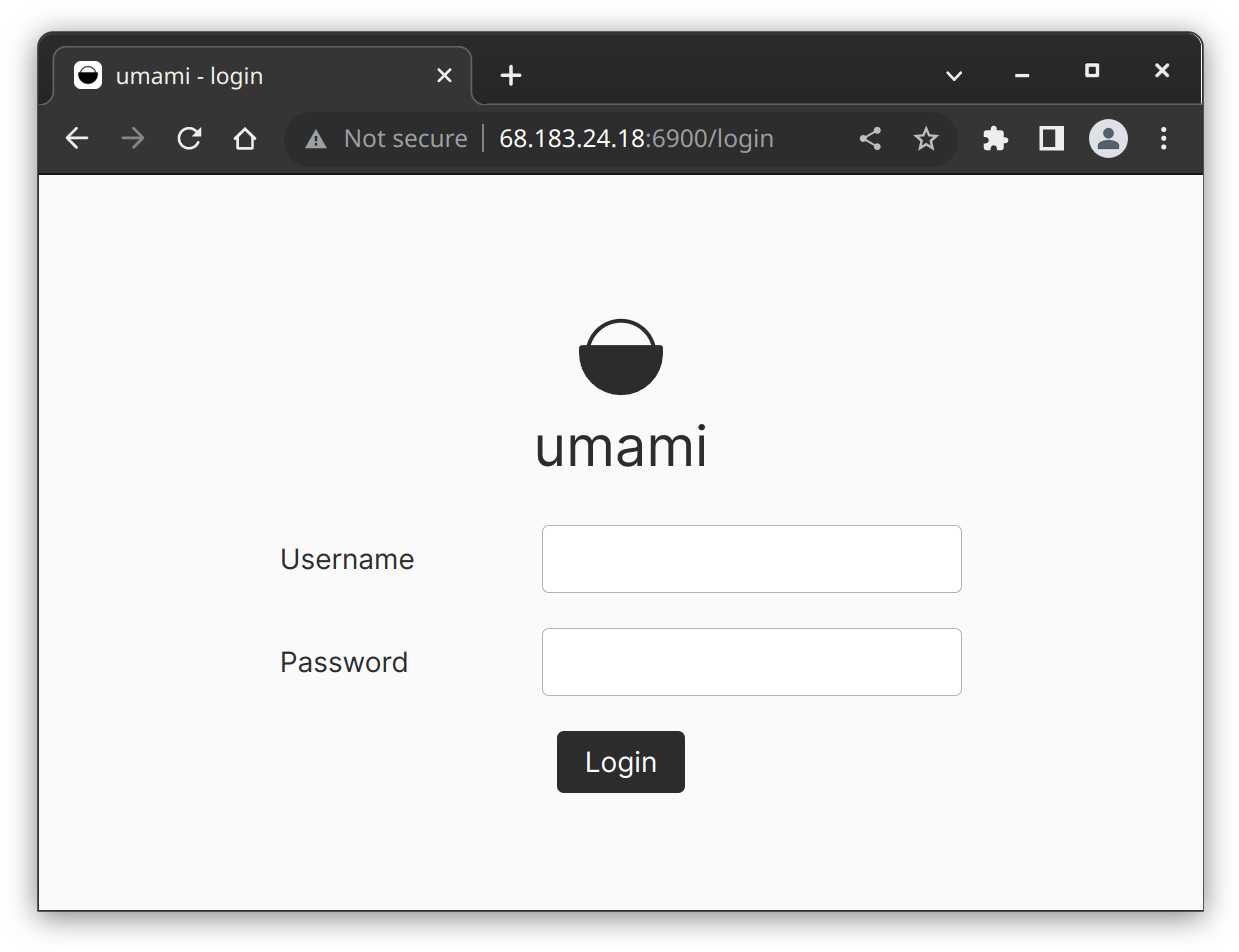
The problem with this is first of all, we're connecting to it directly via an ip address and port, and also that there's no TLS and the site is not secure. Let's fix that by adding Nginx and proxying our site through Cloudflare.
NGINX
Nginx is a web server that can also be used as a reverse proxy, load balancer, mail proxy and HTTP cache.
Domain
This section presumes that you have access to a domain on a service like Cloudflare. You'll need to be able to read and modify its DNS records in order to be able to point your domain to the droplet's IP address.
We'll be using Nginx as a reverse proxy to deliver users to the right application server running on our droplet. In our case, we only have our one Umami app running, but let's take a look at an example.
Say we have a domain, example.com, and when a user visits that domain they're taken to our web server running on our droplet. This is easy enough to do, as the default HTTP port is 80. If we run our server on port 80, and create a DNS A record on our domain, pointing to the droplet's IP address, sure enough it works!
Now let's say we want to run an additional server on our droplet, port 80 is already in use, so we'll have to go with something else, like 8080. Now, let's have two.example.com point to our second server, and add another A record pointing to [droplet-IP]:8080. Except there's a problem: we can't specify a port number in the record, and using just the IP address takes us to the server hosted on port 80. So how the hell do we get this second server to work?
This is where a reverse proxy like Nginx comes in, all requests to the droplet IP will first pass through the reverse proxy, which decides which application server to route the request to, based on the url.

Again, DigitalOcean has a tutorial on this, so feel free to reference that while I detail a much more shortened version of the set up process. From the root, install the package with:
apt install -y nginxAnd make sure that that Nginx has access through the firewall with:
ufw allow 'Nginx HTTP'Next, we'll want to create and edit the file server.conf in the nginx directory:
nano /etc/nginx/sites-available/server.confIn this file, I'll add a single server block which will use the address of umami.your_domain.com:
server {
  server_name umami.your_domain.com;

  location / {
    proxy_pass http://localhost:6900;
    proxy_set_header X-Real-IP $remote_addr;
    proxy_set_header Host $host;
    proxy_set_header X-Forwarded-For $proxy_add_x_forwarded_for;
  }
}
As you can see, we are proxying to the local port 6900 and the X-Real-IP and X-Forwarded-For headers are coming from Cloudflare. Since Umami is for analytics, knowing the client's true IP address is helpful, but requires a bit more additional set up. Cloudflare already has a guide for this, and specifically for Nginx, you'll need to use the ngx_http_realip module for each one of Cloudflare's IPs (cloudflare.com/ips).
This means editing /etc/nginx/nginx.conf and in the http block prepending the following:
http {
  set_real_ip_from 103.21.244.0/22;
  set_real_ip_from 103.22.200.0/22;
  set_real_ip_from 103.31.4.0/22;
  set_real_ip_from 104.16.0.0/13;
  set_real_ip_from 104.24.0.0/14;
  set_real_ip_from 108.162.192.0/18;
  set_real_ip_from 131.0.72.0/22;
  set_real_ip_from 141.101.64.0/18;
  set_real_ip_from 162.158.0.0/15;
  set_real_ip_from 172.64.0.0/13;
  set_real_ip_from 173.245.48.0/20;
  set_real_ip_from 188.114.96.0/20;
  set_real_ip_from 190.93.240.0/20;
  set_real_ip_from 197.234.240.0/22;
  set_real_ip_from 198.41.128.0/17;
  set_real_ip_from 2400:cb00::/32;
  set_real_ip_from 2606:4700::/32;
  set_real_ip_from 2803:f800::/32;
  set_real_ip_from 2405:b500::/32;
  set_real_ip_from 2405:8100::/32;
  set_real_ip_from 2c0f:f248::/32;
  set_real_ip_from 2a06:98c0::/29;

  # NOTE: Cloudflare's list of IP addresses is always being updated,
  # make sure you're up to date (https://www.cloudflare.com/ips)

  # use any of the following two

  # real_ip_header CF-Connecting-IP;
  real_ip_header X-Forwarded-For;

  # Everything else...
}
Make sure to link this file to sites-enabled with the following command, so that it is detectable by Nginx:
sudo ln -s /etc/nginx/sites-available/server.conf /etc/nginx/sites-enabled/Now, test the configuration with nginx -t and make sure the result is successful:
root@tutorial:/etc/nginx# nginx -t
nginx: the configuration file /etc/nginx/nginx.conf syntax is ok
nginx: configuration file /etc/nginx/nginx.conf test is successful
Now, we can restart the service and use the configurations we specified by running:
service nginx restartAnd that's it for Nginx! Now, all we have to do is point Cloudflare to our droplet, and we're almost done.
Cloudflare
Create an A record pointing to your droplet's IP address, and specify the same subdomain (or root if that's what you used) as in the Nginx config:

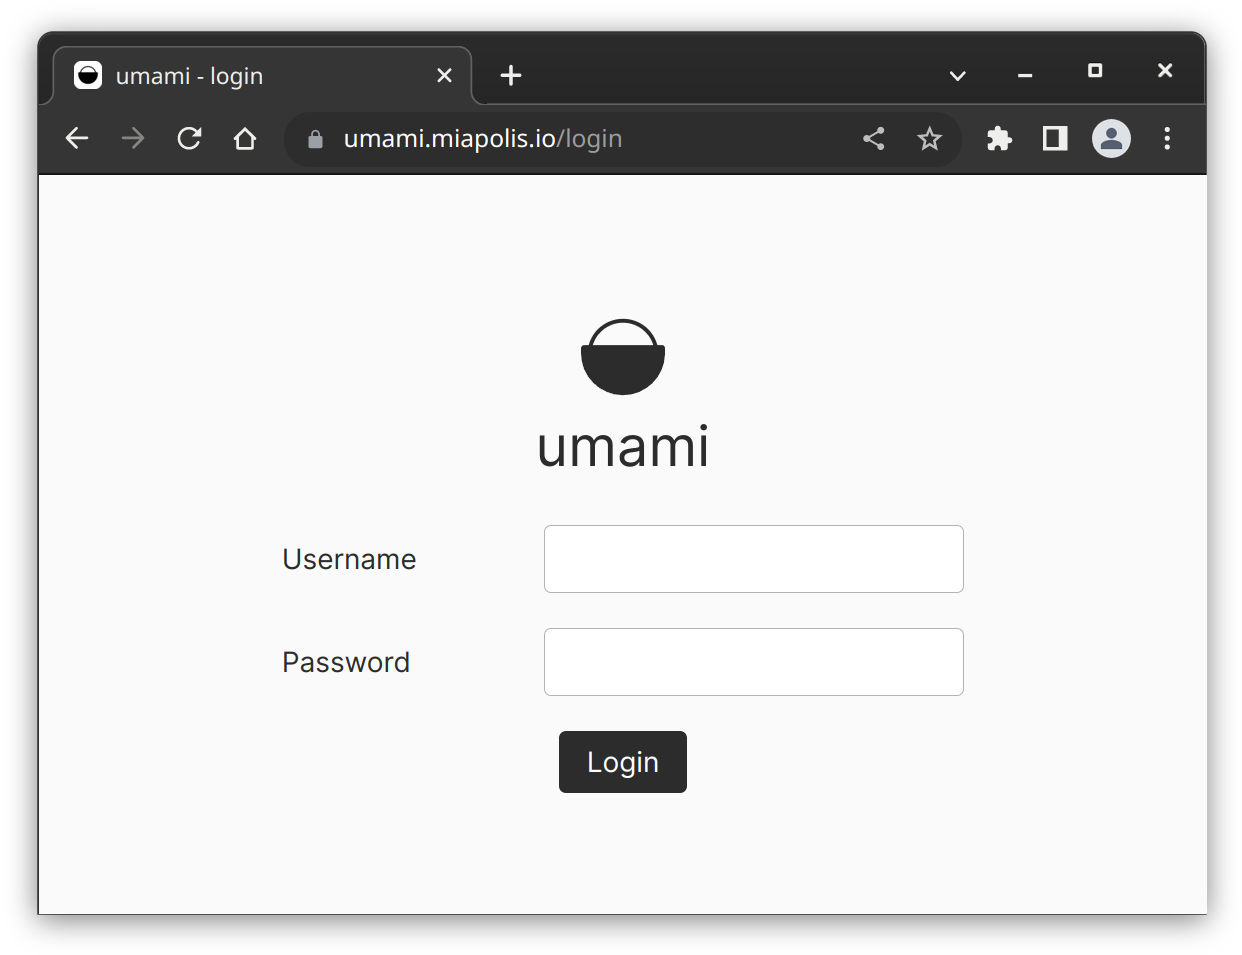
I'll keep the traffic as proxied, so that Cloudflare manages our SSL certificate and we don't have to worry about certificates on our droplet. Now, we can visit our site, and we'll be greeted with the same Umami as before.
Pretty cool right? One of the great things about Cloudflare is that their infrastructure is capable of mitigating large-scale DDOS attacks. Our umami server is now also protected, but we can still access it via the original droplet IP and 6900 port. If someone discovered our droplet's IP address, which would not be difficult to do at all, they could attack our server directly, avoiding Cloudflare altogether.
This last step is to set up a firewall on DigitalOcean so that only Cloudflare's list of IP addresses will be able to connect to our droplet.
Droplet Firewall
In the droplet console on DigitalOcean, head over to the Networking tab on the left side. Under Firewalls, hit 'Edit' and then 'Create Firewall'. I'm going to call this one cloudflare-only. From there, add all of Cloudflare's IPv4 and IPv6 addresses as inbound rules for HTTP and HTTPS. You should end up with something that looks like this:
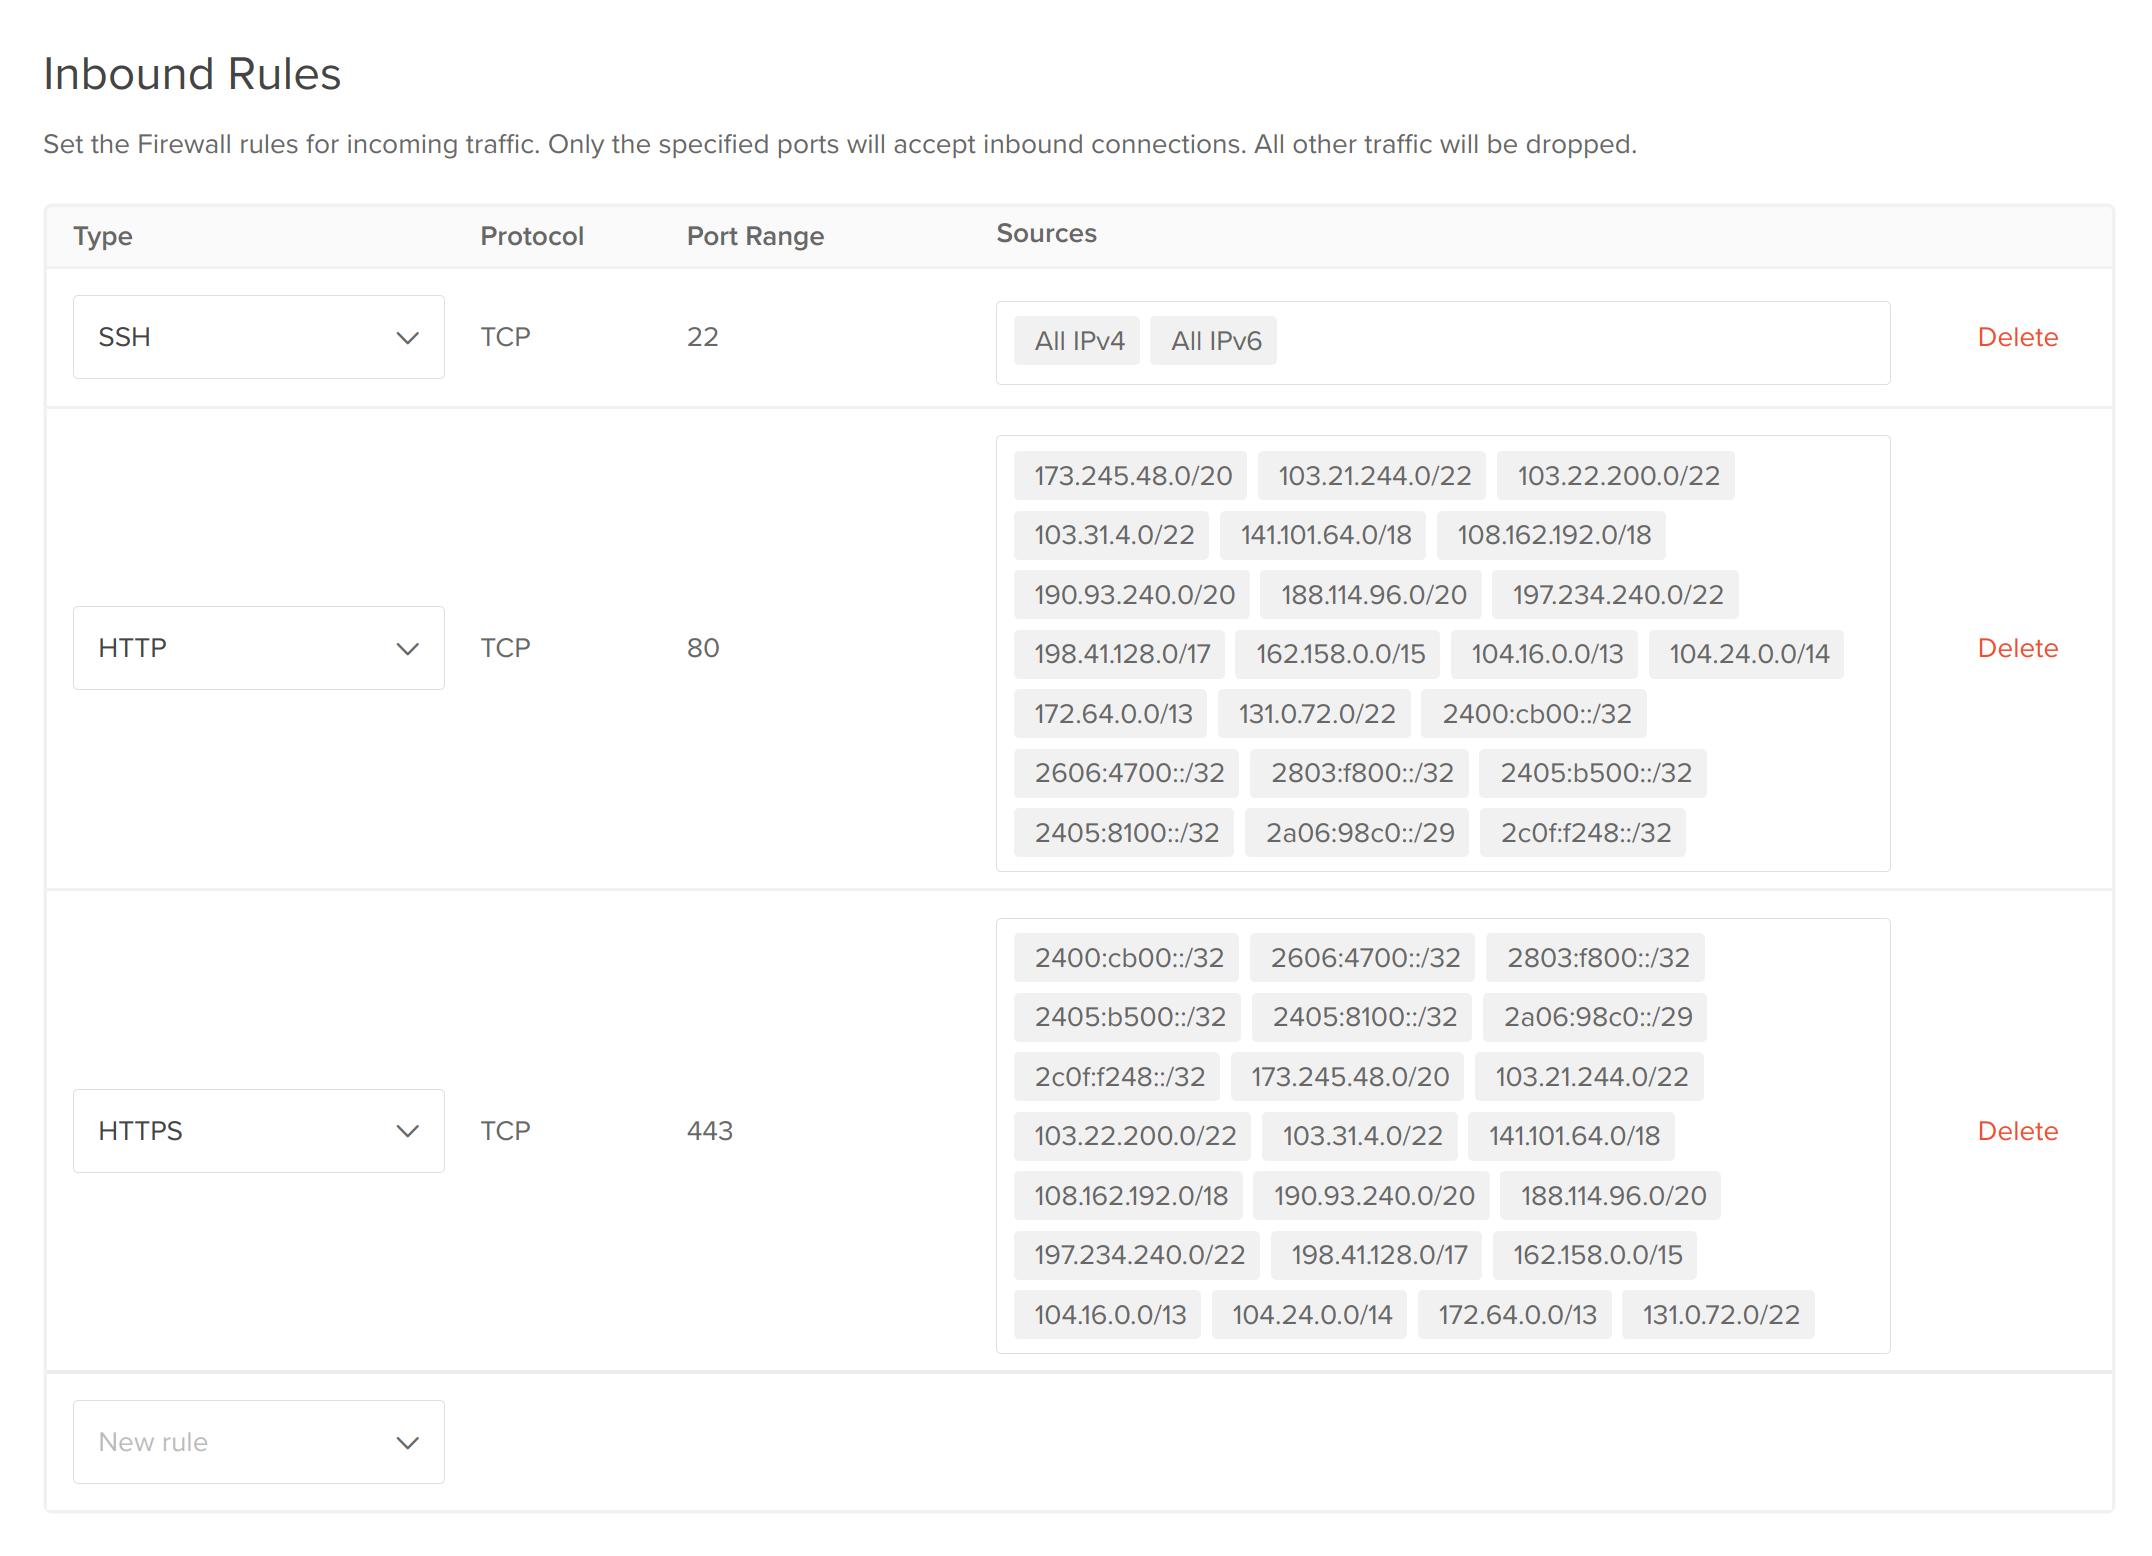
Lastly, add your droplet to the firewall. Now, you should see that accessing your site through the domain and Cloudflare works, but the direct IP address gets blocked. Exactly what we want.
Conclusion
You now have an app like Umami running on your droplet, without the hassle of managing SSL certificates. It's fully secure and protected by Cloudflare, and cannot be accessed directly. It's online 24/7, you pay a flat fee based on the VM's resources, and you can even enable a reserved IP address for the droplet. DigitalOcean is in many ways for me, my ideal internet.
Let's say you now want to run something else on your server, all you'd need to do is repeat some of what we just did:
- Create a new user, add it to the docker group
- Start containers with docker-compose or similar
- Add another
serverblock within/etc/nginx/sites-available/server.confand restart Nginx - Add another
Arecord pointing your domain to the droplet's IP address
...and that's it!
My Favorite Uses
Droplets obviously aren't for everything, I tend to avoid hosting direct production applications on my personal server, but the Umami running on this site is self-hosted on my droplet. In addition to that, here are a few other things I suggest running:
- Tailscale - Tailscale is absolutely great. I use my droplet as an exit node which lets me use it like a VPN, but also I can access the server's internal ports and applications as long as I'm connected to the network. With the firewall, I can have the rest of the droplet closed down to the internet except when I specifically expose something, but access internal tools through Tailscale. Check it out!
- Small hobby projects and game servers that aren't under heavy load, but need to be running all the time, like my old project QSpy, an online version of Spyfall.
- Personal URL shorteners for your domain, like this one I wrote. Link.
Destroying the Droplet
Destroying your droplet is as easy as going to the 'Destroy' tab in the dashboard, and hitting 'Destroy'. Everything is immediately cleaned up and all of the static droplet IPs are freed.